Testing your water is one of those jobs that sounds complicated but isn't. Whether you're on a rainwater tank, a bore, or just want to know what's coming out of the tap, the process is the same: collect a sample properly, get it to a laboratory quickly, and read the results against the Australian Drinking Water Guidelines explained.
Here's exactly how it works, start to finish.
Step 1 — Decide What to Test For
Your water source determines your risk profile:
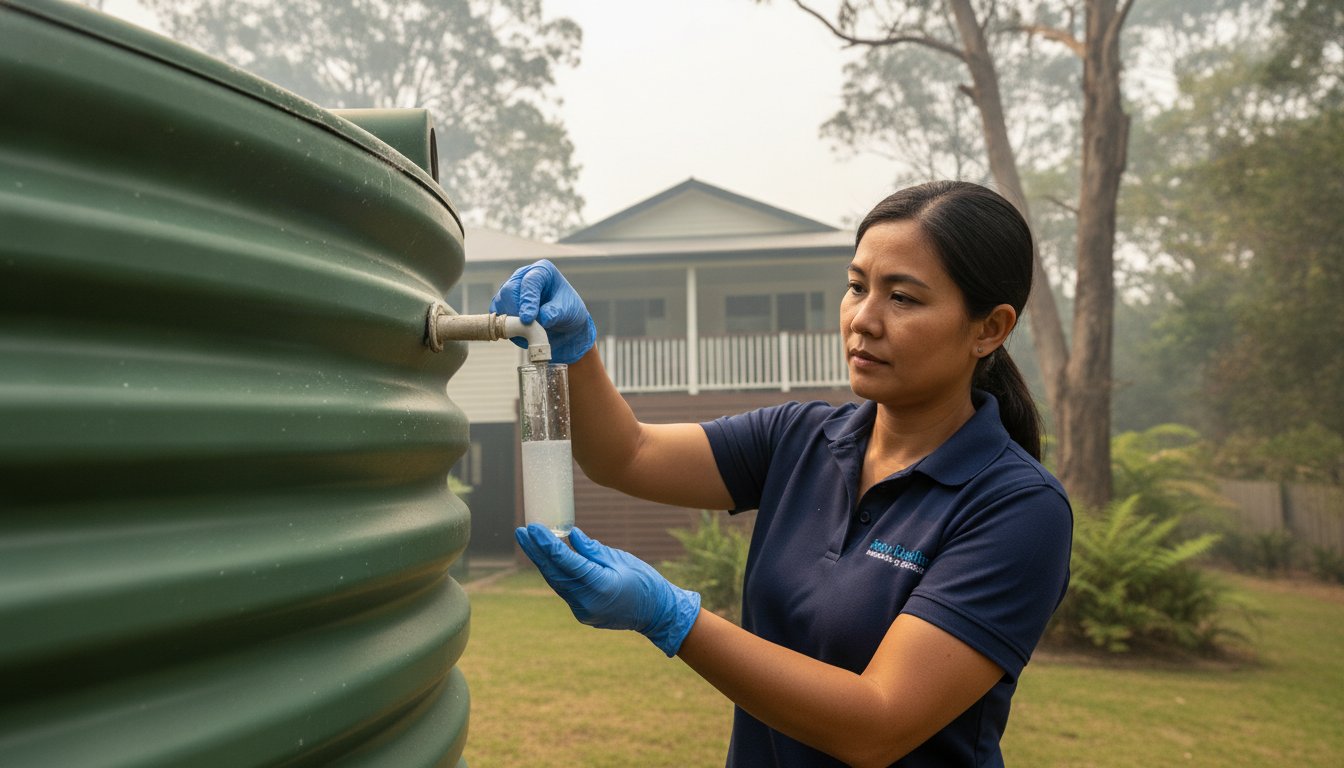
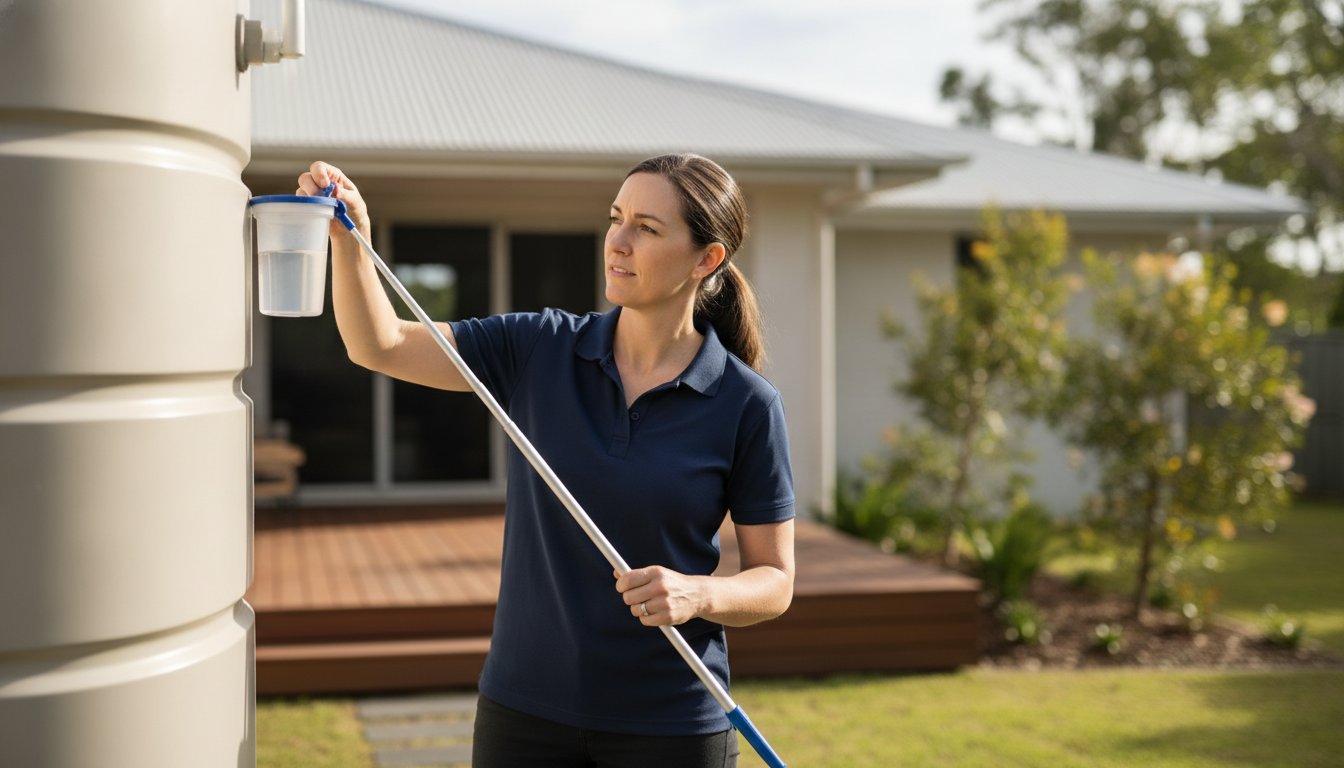
- Tank water — bacteria (E. coli and coliforms), pH, and metals like lead and copper that acidic rainwater pulls from plumbing. Our tank water safety guide covers why.
- Bore water — bacteria plus pH, salinity, hardness, iron, manganese, nitrate and heavy metals, depending on your region. See bore water safety for the full picture.
- Mains water concerns — usually taste, staining or plumbing-related metals rather than bacteria.
A packaged test designed for your supply type is nearly always better value than picking parameters one by one.
Step 2 — Choose Lab Testing or a DIY Kit
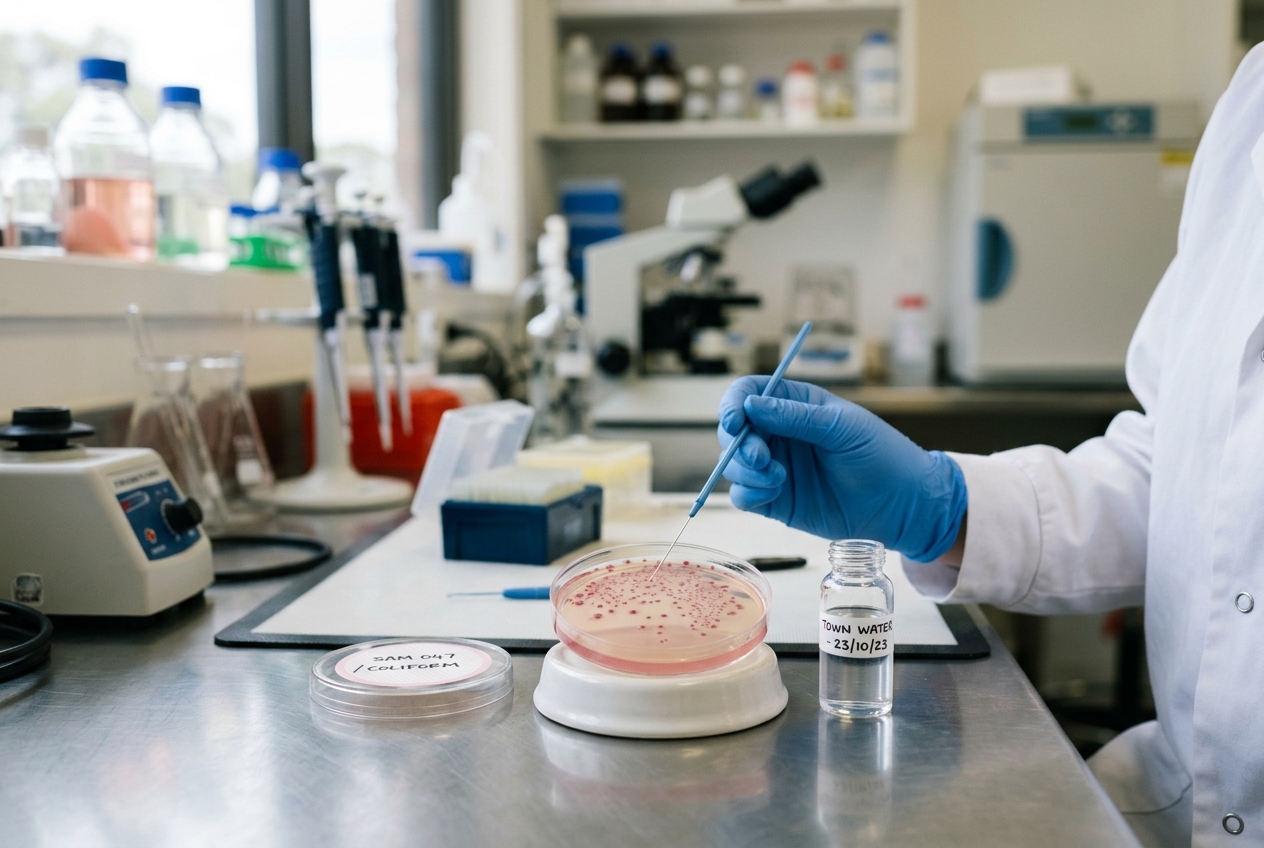
DIY strips are fine for a rough pH or hardness reading, but they can't detect bacteria reliably or measure metals at guideline levels. For anything you'll act on — drinking safety, a property purchase, a sick family member — laboratory analysis is the reliable option. We've written a full comparison: lab testing vs DIY kits.
Step 3 — Collect the Sample Properly
Sampling technique matters more than most people expect:
- Use the containers provided. Microbiological samples need sterile bottles — a rinsed jam jar will contaminate the result.
- Sample from the right place. Usually the kitchen tap (what you actually drink), or the tank outlet / bore head if you're diagnosing the source.
- For bacteria samples — don't touch the bottle rim, don't rinse the bottle, fill to the line, and keep it cool.
- Get it to the lab fast. Microbiological samples are best analysed within 24 hours of collection.
Step 4 — Send It In (or Drop It Off)
Mail-out kits include everything: sterile bottles, instructions, and express return packaging. If you're local to the Sunshine Coast, samples can also be dropped directly to our Sunshine Coast laboratory — same-day receipt means the freshest possible sample.
Step 5 — Read Your Results
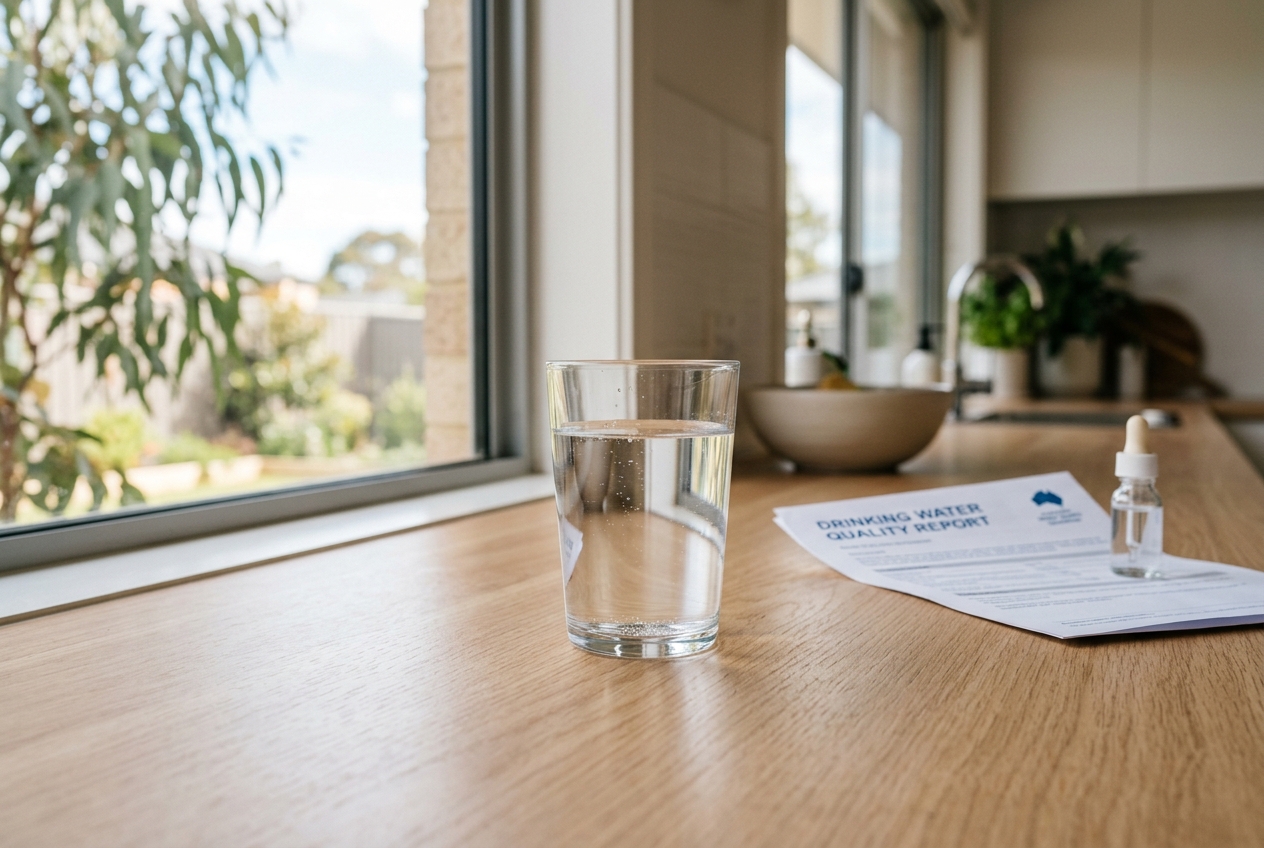
A good report shows each parameter, your result, the ADWG guideline value, and — crucially — what it means in plain English. The short version:
- Bacteria detected — the most urgent result; stop drinking and investigate
- Chemical exceedance — a result above the guideline does not meet Australian Drinking Water Guidelines and should be addressed, usually via treatment or source fixes
- All within guidelines — your water met the guidelines at the time of sampling; retest annually to keep the picture current
What Does It Cost?
Prices vary with how many parameters you test. We've broken down typical water testing costs across Australia — including what's worth paying for and what isn't.
Frequently Asked Questions
How do I get my water tested in Australia?
Book a test with a water testing laboratory, collect a sample following their instructions (or have one collected), and send or drop it in. Results are compared against the Australian Drinking Water Guidelines and reported back — good labs include a plain-English explanation of what each number means.
How long do water test results take?
Microbiological results typically take 24–48 hours because bacteria need time to culture. Chemistry results usually follow within a few business days. Most complete reports arrive within a week of the sample reaching the lab.
What should I test my water for?
It depends on your supply. Tank water: bacteria, pH, lead and copper. Bore water: bacteria, pH, salinity, hardness, iron, manganese, nitrate and metals. If in doubt, start with a package designed for your water source rather than picking individual parameters.
Ready to test your water?
All-inclusive water testing with sterile sampling kits, fast turnaround and plain-English results measured against the Australian Drinking Water Guidelines.